
Affiliate disclosure: This guide contains no affiliate links.
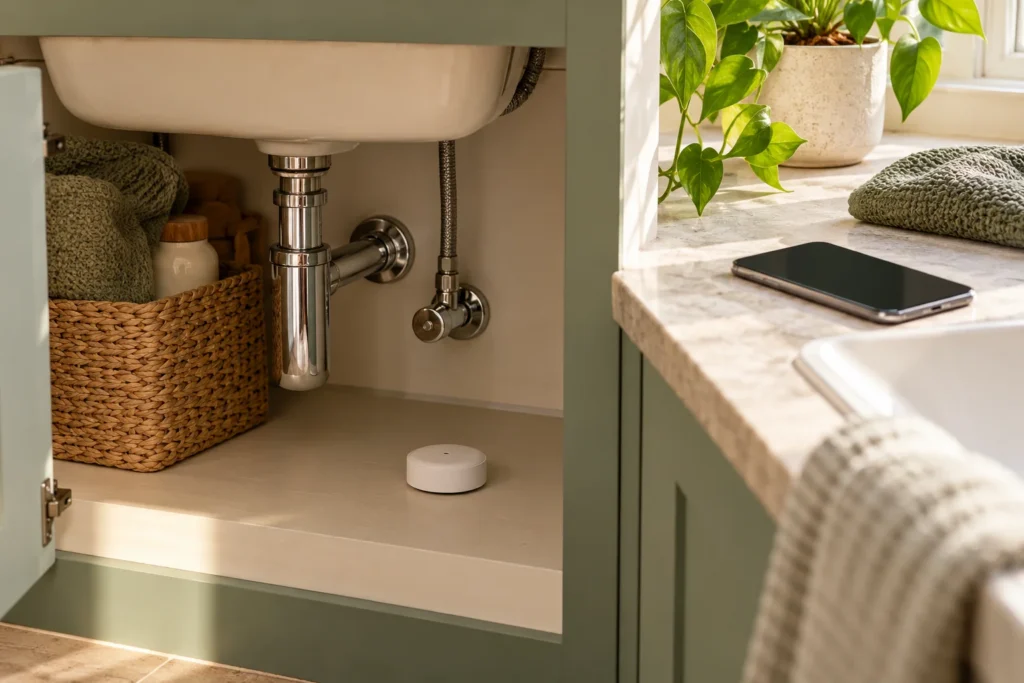
AI-generated editorial illustration. The scene is illustrative; it does not depict a FoxyEco product test or the exact appearance of a recommended model.
A water leak detector only helps if it sits where water will reach its contacts and if the alert reaches someone who can shut a valve or call for help. Buying a sensor and dropping it in a dry cupboard is theater. Map wet risks, match sensor type to the surface, then test the full alert path—local beep, hub, phone—before you trust it overnight.
This guide covers placement under sinks and appliances, cable versus puck sensors, renter limits, response plans that respect electrical hazards, and a realistic ownership-cost worksheet.
Walk the house before you shop
Open every sink cabinet. Look for drip stains, warped particleboard, and mineral crusts around shutoffs. Check behind the toilet, under the dishwasher supply, beside washing-machine hoses, around the water heater drip pan, and near a sump or dehumidifier drain. EPA WaterSense guidance still starts with finding and fixing active leaks—an alarm does not excuse leaving a drip running.
Note where water would travel if a hose burst: downhill toward the furnace, across a finished basement, into a downstairs ceiling. Sensors belong on that path, not on a decorative shelf two feet up.
Match detection method to the job
Point sensors need water on their base contacts. Sensing cables cover longer runs along baseboards or under heaters. Read orientation rules—some pucks must sit flat. Do not assume the whole device is waterproof; hubs and battery doors often hate standing water.
Wi‑Fi sensors need signal where you place them. Metal sink cabinets can kill reception. Use a hub only if your exact model supports that topology in your region.
Keep sensors reachable
You must test, wipe, and change batteries without emptying the pantry. After deep cleaning, confirm the puck still sits on the tray. Renters: ask before drilling; freestanding sensors still need clarity on who responds to alarms.
Test the full alert chain without flooding
Use the manufacturer’s test mode. Confirm sensor LED/beep, hub behavior, push notification, and that the message names the right room. A local chirp that never leaves the basement fails the point of remote alerts. Check Wi‑Fi-down behavior.
Never deliberately flood a finished floor. A damp paper towel on contacts (if allowed) or the official test button is enough.
Write the response plan on paper
Who gets the push? Who knows the main shutoff? Where is the wrench? If you are at work, can a neighbor access the valve? Standing water near outlets means call professionals—do not become the second casualty.
Practice finding the shutoff in daylight. Label valves: washer, whole house, hot water. An alarm at 2 a.m. is a bad plumbing lesson.
Ownership cost without miracle ROI
Example: three $22 sensors + $35 hub + $6 batteries = $107 before any subscription. Cloud alerts may add fees—read the current plan. This does not equal “prevented $8,000 of damage.” It buys earlier warning if placement and response are solid.
Maintain like a quieter smoke detector
Replace batteries on schedule. Re-test after router swaps, phone upgrades, or moves. Investigate nuisance alerts—condensation, mop water, shifted puck—before silencing the system forever.
Scenario: washer hose vs vacation
You leave Friday. Monday a downstairs stain appears. A sensor under the washer with a working phone alert might have caught Sunday’s drip. A sensor in the linen closet would not.
Scenario: dehumidifier hose pops on the slab
Place the sensor on the low point of the floor, not on the machine’s plastic top. Pair with a working continuous drain so the sensor is backup, not the primary plan.
Questions people ask
Do I need a sensor in every bathroom? Prioritize unsupervised appliances and supply lines first. Bathrooms you visit daily may get visual checks unless you travel often.
Insurance discount? Ask your carrier; do not assume. Document model and placement if they care.
Smart shutoff valves? Different product class—plumbing skill and fail-safe behavior need separate research.
Checklist before you stop worrying
Map risks → place per manual → test alert to your phone → label shutoffs → calendar battery check. Keep fixing drips you can see. The detector is a night watch, not a plumber.
Photograph each sensor location after install so a housemate can reseat it correctly after mopping.
Keep a one-page note on your phone: what you checked, the date, and the next action. Households forget decisions made during a stressful evening. When someone else shares the chore, that note prevents conflicting “fixes.”
Revisit the routine when seasons change, guests arrive, or you remodel. A plan that worked in dry winter air can fail in humid August. Update placements, schedules, and shopping lists instead of blaming the last product you bought.
If a professional is involved—plumber, HVAC tech, upholsterer—hand them your notes and photos. Clear history shortens diagnostic time and reduces “we’ll just replace it” defaults when a smaller repair would do.
Write the date you last verified this routine on a sticky note near the equipment or in a shared household chat. Small maintenance habits beat annual panic shopping.
When comparing products online, open the Q&A and recent reviews for failure modes that match your climate and building type—not only five-star lifestyle photos.
Field notes from real households
Write down the last three times this problem annoyed you: dates, what failed, and what you tried. Patterns appear fast—“always after guests,” “only in January,” “only the left side.” That log beats a vague feeling that “everything is broken.”
When you shop, take the log with you (or open it on your phone). Ask whether the product’s care or install steps match the failure you actually recorded. If the answer is no, keep looking. Marketing rarely lists your exact failure mode.
After you change something—new seal, new setting, new placement—give it a defined trial window (three showers, one billing cycle, two weeks of commuting). Judge success against the log, not against an influencer’s thirty-second clip.
Share the working setup with anyone else who uses the space. A perfect personal routine collapses when a roommate resets the switch, moves the sensor, or washes everything on hot “because it looks cleaner.”
Budget a small contingency: tape, spare filters, a backup towel, an extra box size. Continuity is how less-waste routines survive busy months without a panicked one-click order of five duplicates.
What “good enough” looks like
You are not aiming for a showroom. You are aiming for fewer emergencies, clearer decisions, and gear that stays in service. If a cheaper option meets the measured need and you will maintain it, that can beat a premium product that intimidates you into neglect.
Document warranties and return windows on a calendar. Many “bad buys” are simply unused return periods. Set a reminder for day five and day twenty after delivery while issues are still obvious.
Sources
Related guides
- Find the Water You Waste Before Buying New Fixtures
- Dehumidifier Drainage: Plan the Route Before Buying the Unit
Verified Eco Recommendation: BLUETTI
High-efficiency LiFePO4 portable power stations, solar generators, and home battery backup systems.
Explore BLUETTI Official Store →