
Affiliate disclosure: This guide contains no affiliate links.
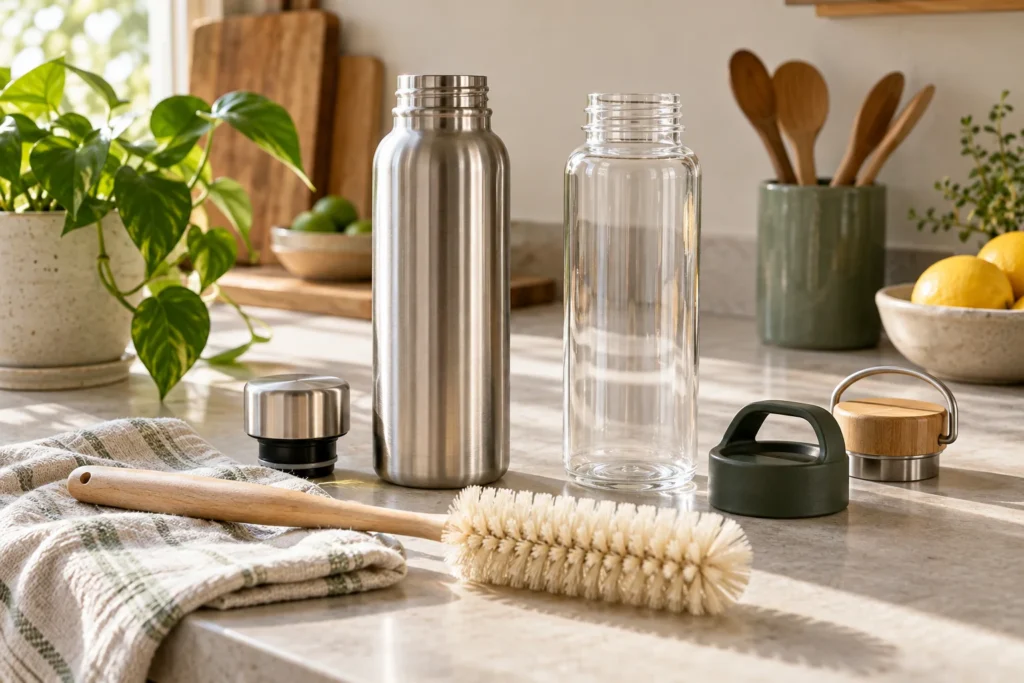
AI-generated editorial illustration. The scene is illustrative; it does not depict a FoxyEco product test or the exact appearance of a recommended model.
A reusable bottle earns its shelf space when you actually carry it, can take it apart to clean, and can replace a worn gasket without buying a whole new flask. Material slogans—“steel,” “glass,” “BPA-free”—matter less than whether the lid traps milk smell, whether the mouth fits your bag pocket, and whether the dishwasher will warp a seal the brand never meant to heat.
Start from the routine: desk water, commute, school bag, gym, or hot tea. A tall insulated bottle that lives in the kitchen does nothing for the walk where you keep buying single-use drinks.
Measure the carry, not just the printed ounces
Check cup-holder diameter, backpack side-pocket height, and filled weight. A 32 oz insulated bottle can feel like a kettle once full. Include the lid height in the measurement; many “fits my bag” failures are lid collisions, not body width.
For a child’s bottle, check age guidance and whether they can open, close, and carry it without losing small parts. An adult travel lid with a delicate straw tip is often the wrong tool for a school day.
Treat body, lid, straw, and seals as separate parts
Dishwasher-safe stamped on the steel body does not automatically clear the plastic lid or silicone gasket. Hydro Flask’s care notes are a concrete example: dishwasher suitability differs by product version—read the page for your exact bottle, not a brand-wide myth.
Count the pieces that must go back in the right order. If you need a flashlight and a tutorial every wash, you will skip cleaning and the bottle will smell. Prefer designs you can disassemble in under a minute with wet hands.
Clean for the smell you already know
Morning coffee residue, protein shakes, and warm sports drinks create different biofilms. Follow the maker’s detergent and brush guidance. Do not jam a knife under a non-removable seal or soak a bottle in a random bleach mix because a social post said “steel can take it.”
Dry parts fully before reassembly. A closed wet lid overnight is how “I cleaned it yesterday” still smells by Friday. If a seal is permanently stained or torn, order the compatible part for your version—lookalike lids often leak.
Skip invented health claims
Compare weight, break risk, insulation need, and permitted contents (hot, cold, carbonated). Do not treat glass, steel, or plastic as a complete safety verdict without the product’s own documentation. This guide is about carrying and cleaning ordinary drinks—not filters, mineralizers, or medical claims.
Cost per trip beats cost per shelf
Worksheet: a $24 bottle used on 120 real trips is $0.20 per trip before washing and spare lids. A $12 bottle used six times is $2 per trip. Include a $7 replacement lid if it returns a sound bottle to service. Do not buy three materials “just in case”; keep a spare only if someone else needs water while yours is drying.
Respect temperature and pressure warnings
Hot liquids in the wrong lid can spray. Carbonation in a bottle not designed for it can spit or stress seals. Never assume insulation makes every hot-drink use safe for kids. Read burn and pressure warnings before you invent a new use case.
Inspect the parts that actually fail
Leaks often mean a mis-seated gasket, a cracked spout, or a lid from a different generation. Confirm assembly before you order parts. Retire a bottle that is cracked, cannot close reliably, or has been used with chemicals it was never rated for—reuse is not an order to ignore a failure.
Scenario: the bottle that never leaves home
You bought a 40 oz insulated flask because the store display promised fewer plastic bottles. It sits by the sink. On commute days you still buy water because the flask does not fit the cup holder and takes two hands to drink while walking. Fix: keep a slim single-wall bottle in the bag, and use the big flask at the desk. Two roles beat one unused hero product.
Scenario two: shared household, one dishwasher-safe body, three lids. Label lids with tape (kid / gym / desk) so seals do not migrate. When the gym lid’s bite valve cracks, replace that lid only—if the maker still sells it for your year/model.
What “repairable” means in practice
Before purchase, search the brand’s parts page for your exact bottle family: lids, straws, bumpers, boots. If nothing is listed, assume the product is disposable when the closure fails. Screenshot the parts page with the order confirmation; catalogs rearrange.
If a third-party lid is cheaper, check neck thread standards and reviews for leak rates. A $5 lid that drips in a laptop bag costs more than the official $12 part.
Build one boring routine
Pick a fill spot, a wash method you will repeat, and a drying rack position. Put the bottle where you grab keys. That beats a cupboard of “good intentions” flasks. If you commute by bike, add a cage-fit check: bottle diameter and boss spacing beat volume boasts—a leaking bite valve on a jersey is how “reusable” becomes one bad ride and a shop-bought drink.
Questions people ask when the bottle smells
Can I put the whole thing in the dishwasher? Only the parts the model page allows, in the placement it describes. When in doubt, hand-wash the lid.
Why does it still smell after washing? Usually a trapped gasket or straw segment. Disassemble fully, scrub, dry overnight open.
When is replacement smarter than another scrub? When the seal is torn, the lid cracks, or the maker no longer sells compatible parts and leaking is constant.
Sources
Brand care pages below are model-specific examples, not universal steel rules.