
Affiliate disclosure: This guide contains partner links. FoxyEco may earn a commission if you buy through them. Check the exact product, US availability and purchase terms before ordering.
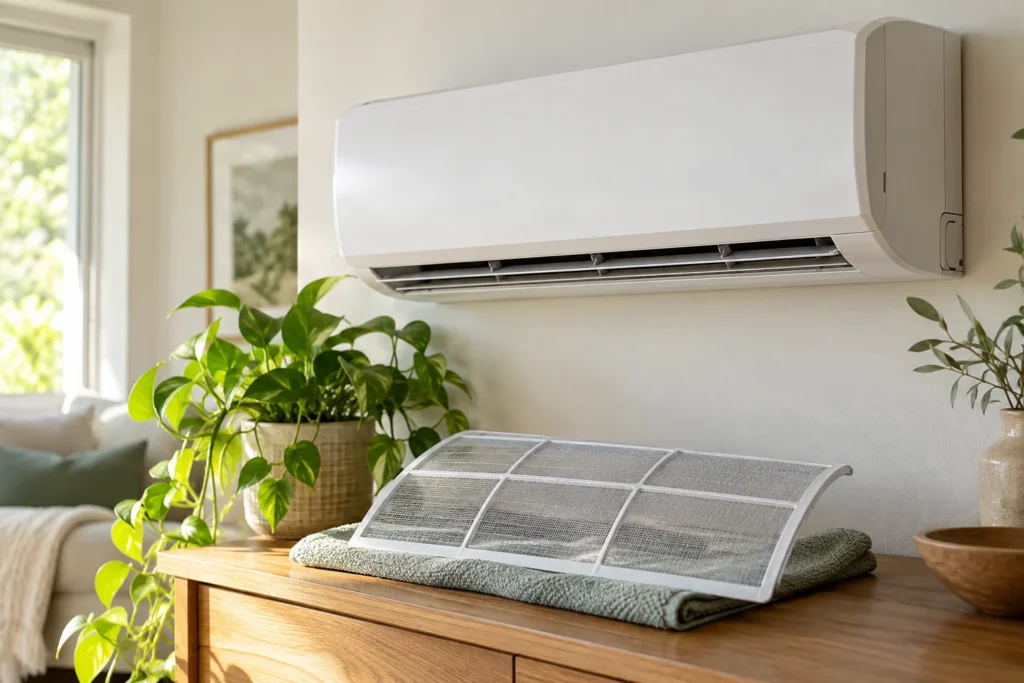
AI-generated editorial illustration. The scene is illustrative; it does not depict a FoxyEco product test or the exact appearance of a recommended model.
If the mini-split is blowing weak air, smelling dusty, or icing on a mild day, the first homeowner move is almost always the same: find the indoor unit’s filter, clean or replace it the way that manual describes, and put the panel back so nothing rattles. You are not supposed to “just wipe the coils with bathroom cleaner” because a video said so. Refrigerant lines, circuit boards, and deep coil cleaning belong to a technician.
This guide draws the line between what you can safely do in fifteen minutes with the power off and what you should leave alone—even if the unit is still under a parts warranty.
Start with the indoor model number, not the remote
Open the front panel only as far as the manual allows and photograph the rating label. Remotes often share a family name that does not identify the filter layout. ENERGY STAR maintenance guidelines and Trane’s owner guidance both push the same point: use your unit’s document, not a neighbor’s interval.
Bookmark the PDF or keep a printed copy in the utility drawer with the install invoice. When a technician visits later, that label and service history save guesswork.
Power down the way the manual says
Most makers want the indoor unit powered off—and sometimes the breaker open—before you pull filters. Follow that sequence. Do not spray liquids toward the display, louvers motors, or electrical box. If the unit is mounted high and you need a wobbly chair to reach it, stop and arrange safer access; a fall costs more than a service call.
Know which filter you are holding
Many ductless heads use a washable mesh screen. Some add a disposable carbon or enzyme cartridge behind it. Wash only what the manual marks washable. A “looks like mesh” insert can be a replaceable element that falls apart in the sink.
Vacuum loose dust first, then wash with the approved mild soap if allowed. Rinse until water runs clear. Dry completely—hours, not a quick towel swipe—before reinstalling. A damp filter in a cold coil is how musty smell returns by Wednesday.
Set a rhythm from your dust load, inside the maker’s range
If the book says inspect every two weeks in heavy use, do that during allergy season or renovation dust. In a clean bedroom with light use, the longer end of the allowed range may be fine. Write dates on a tape strip inside the panel. If the filter is filthy two days after cleaning, look for a return-path issue or construction dust—do not invent a thicker aftermarket filter that chokes airflow.
Reassemble like it matters—because it does
Seat every tab. Close the panel until latches click. Restore power and listen for normal fan sound. If you get an error code, unusual rattle, or weak airflow after “just cleaning,” power down and check seating before assuming the compressor died. Running without a filter because it “is drying overnight” pulls debris into the coil—exactly the expensive mess you were trying to avoid.
Symptoms a clean filter will not fix
Ice on the coil in cooling mode, water dripping behind the unit, burning smells, or breaker trips need a technician. Filter care is maintenance, not a diagnosis. Tell the tech what you cleaned, when, and what changed afterward.
Do not promise yourself a fixed percentage bill cut from one cleaning. Weather, setpoints, and outdoor unit dirt all move the needle. The practical win is restored airflow and fewer odor complaints.
Parts and service money, separated
Example: a compatible disposable insert costs $18 and lasts the interval in your manual. That is not the same quote as a tech visit that also checks drain lines and outdoor coils. Ask for scope on any service invoice so you are not comparing a filter box to a full tune-up.
Illustrative energy worksheet only: a drop from 5.0 kWh to 4.5 kWh over comparable hours is 0.5 kWh ($0.10 at $0.20/kWh). Real attribution needs similar weather and settings.
Shopping for a new system is a different decision
If damp indoor air or musty odors persist even after filter maintenance, check whether basement or crawlspace moisture is migrating upstairs and review AlorAir crawlspace dehumidifiers and documentation as a dedicated moisture-control reference. Confirm space volume, condensate drainage, and whether filter screens are easily user-accessible. A hard-to-reach head is a maintenance tax for the life of the system.
Outdoor unit: look, don’t hose blindly
While you are outside, clear leaves and toys from around the condenser so intake isn’t blocked. Straighten only obviously bent fins with a fin comb if you know how; do not fold them flatter with pliers. Never spray water upward into fan motors. If the outdoor coil is furry with cottonwood, schedule a tech wash rather than inventing a pressure-washer ritual.
Questions owners ask after the first clean
How often is “enough”? Whatever your manual states for your dust conditions. Use the dirty-filter photo as your personal calibration.
Can I clean the shiny coil with a garden hose? Not as a DIY default. Coil fin damage and water in electronics are real risks—leave deep cleaning to service unless the maker publishes an owner coil procedure for your model.
The remote says “clean filter”—is that a sensor? Often a timed reminder, not a dirt sensor. Reset it after you actually clean.
Sources
- ENERGY STAR: Heating & Cooling Maintenance Best Practices
- Trane: mini-split filter care and owner-manual guidance
Related guides
- Set a Thermostat Schedule Around the Home You Actually Use
- Window Drafts: Find the Gap Before Adding Weatherstripping
Verified Eco Recommendation: BLUETTI
High-efficiency LiFePO4 portable power stations, solar generators, and home battery backup systems.
Explore BLUETTI Official Store →